 Article by: Denise Long
Grandma in CHIEF - grandmothering.info If you’re like many grandparents, you revel in spending time with your grandchildren, regardless of their ages. However, their interest and ability levels may differ drastically from your own. It is possible, however, to keep the little ones entertained and engaged even if you aren’t physically able to run and play. Start With Art From the very young to the very old, people of all ages enjoy doing art. Drawing, painting, and crafting are safe and fun activities for the entire family. Projects that are fun for kids include creating a newspaper skyline, using leaves, acorns, and twigs to create small works of art, and making crayon drip canvases. Younger children can utilize torn construction paper pieces to dream up their very own landscape while older kids might find some amusement creating Picasso-like art with markers and magazine cutouts. Teach a Practical Hands-on Skill You can also have fun with your grandchildren by teaching them practical skills. This is especially meaningful if it’s a family pastime that has been passed down from one generation to the next. Some ideas include quilting and woodworking. HomeAdvisor explains that the latter requires paying careful attention to young children, as woodworking involves sharp knives. A few fun projects here include building a toolbox, bookshelf, or birdhouse. Cooking With Kids Speaking of knowledge that gets passed from parent to child, cooking is another valuable life skill that you can share with your grandchildren. Bring them to the kitchen to learn how to make a family favorite recipe. This could be a main dish, a traditional holiday course, or dessert. PBS Parents explains that when children learn to cook, they also get to explore new foods and culture. It also teaches reading and math skills. More importantly, putting on an apron and whipping up a tasty treat is a bonding experience that can’t be replicated any other way. Always practice safe kitchen practices and never leave children under the age of 16 unsupervised when the oven or stovetop are in use. Keep sharp knives out of reach and encourage regular hand washing to prevent cross contamination. Share Your Family History Most children don’t have much of an idea of where they come from beyond their parents and grandparents. But you likely remember and have mementos of their ascendants going back one or more generations beyond yourself. For many families, this is the form of jewelry, books, or military mementos. Teach your grandchildren about your own grandparents and great grandparents and let them touch and feel these vestiges of the past. You never know when something will catch their interest that will encourage them to follow in the footsteps of their ancestors and keep their stories alive for their own children and grandchildren. An Old Classic Kids need to keep their hands busy, so consider making a tried-and-true classic, play dough. With simple ingredients including salt, flour, oil, and water, you and your grandchildren can mix up this old-fashioned favorite in a matter of minutes. As an added benefit, homemade play dough is non-toxic. It also tastes terrible, which will discourage ingesting more than the amount needed to satisfy their inevitable curiosity. In addition to kitchen and garage safety, you’ll need to make sure your home is a safe haven for your grandchildren. If they are very young, consider covering the electrical outlets and anchoring heavy furniture to the floor. Remove dangerous items, such as cleaning products and razors, and keep your windows closed to prevent falls. Dr. Sears offers more childproofing ideas. When your grandchildren are around, keep common materials that you use with them within reach so you aren’t running up and down stairs or driving to the store every time they come for a visit. It is possible to connect with your grandchildren no matter the amount of years that span your generations. But remember, safety is your top priority so choose activities that won’t be encumbered by either of your physical limitations. Here are two original 8x10 Valentine printables just in time for you to print and display in your home. They look great printed on a sheet of glossy or matte photo paper and displayed in a nice frame. The frames shown are digital images only and will not print out, you'll get unframed printables. See below for more ideas for using these printables. Click the link under the printable on the right to download and save to your computer. Need a few tips on how to get the best print? Here is a helpful free guide: "The Ultimate Guide to Printing Printables."
Another idea for using these pretty Valentine printables . . . copy them 4 to a page of card stock, print, cut out and give away as Valentine cards! They also make great gift tags . . . copy them 8 to a page of card stock, print, cut out and punch a hole for a pretty ribbon or rafia tie!
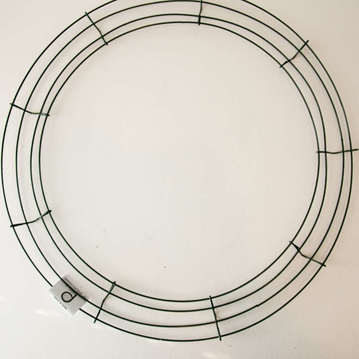
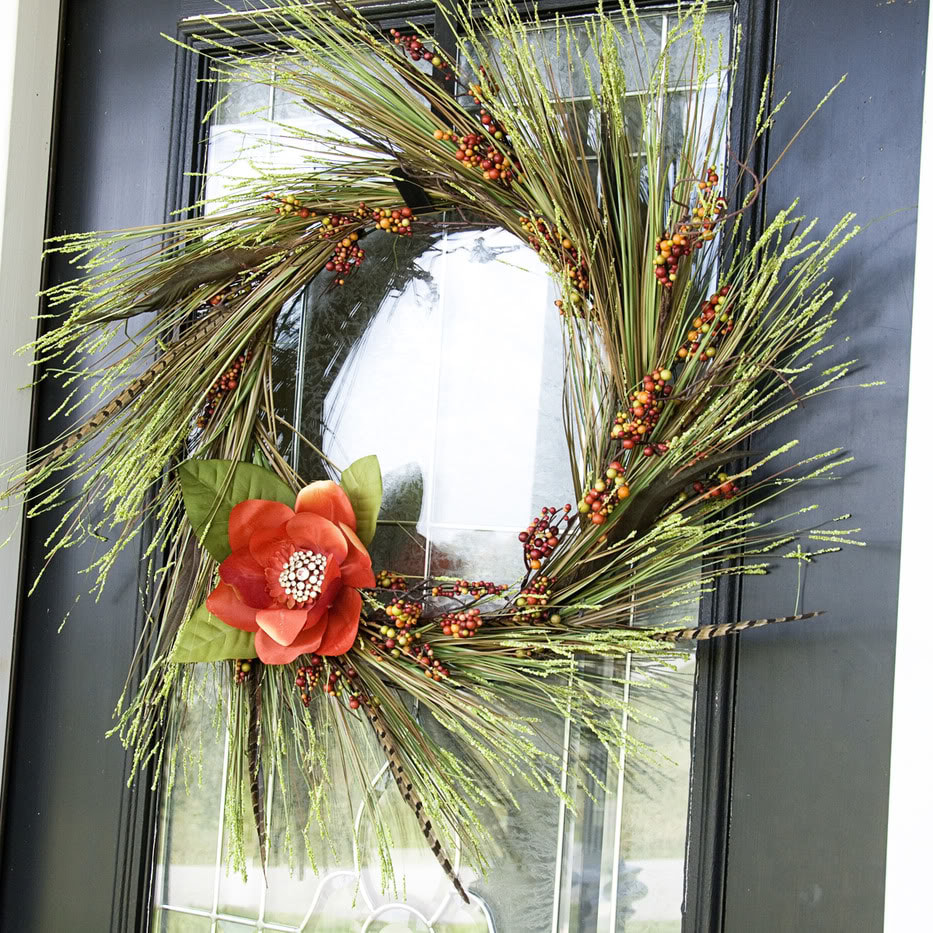 In our family we love to find ways to celebrate the seasons. The kids all get so excited when it’s time to pull out our decorations for a special time of year. This year I decided to make a new wreath for our front door to anticipate the arrival of Autumn this year. 
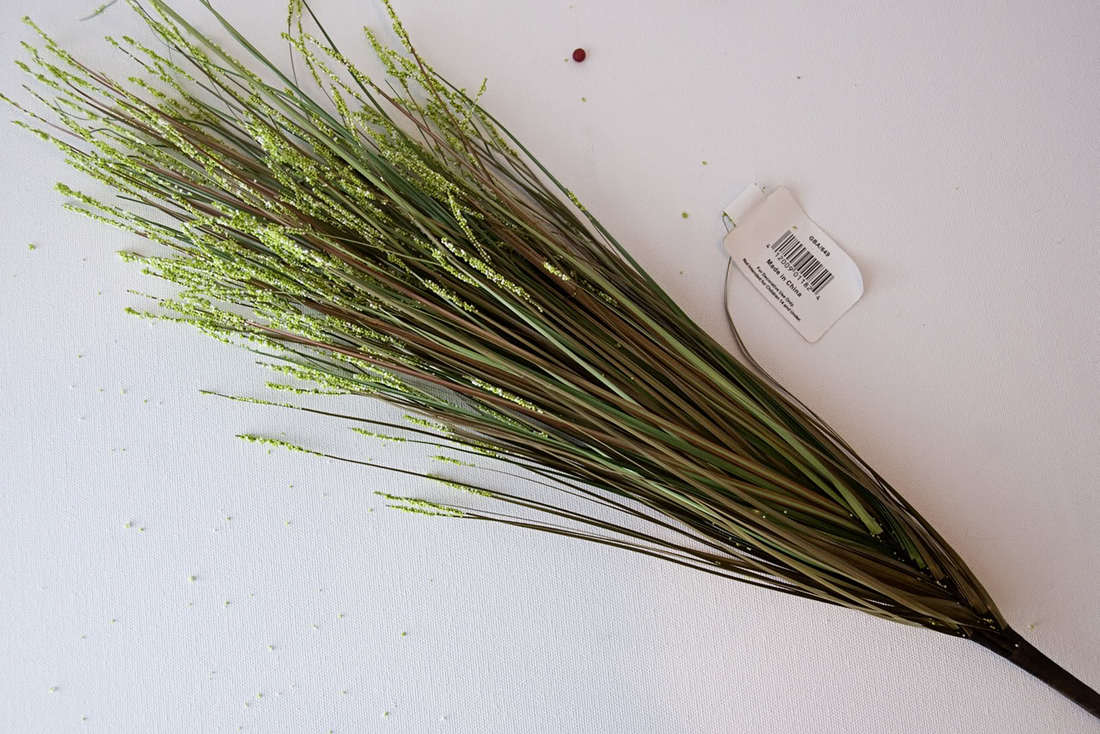
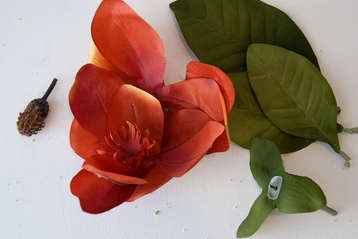
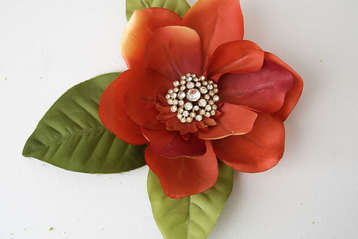
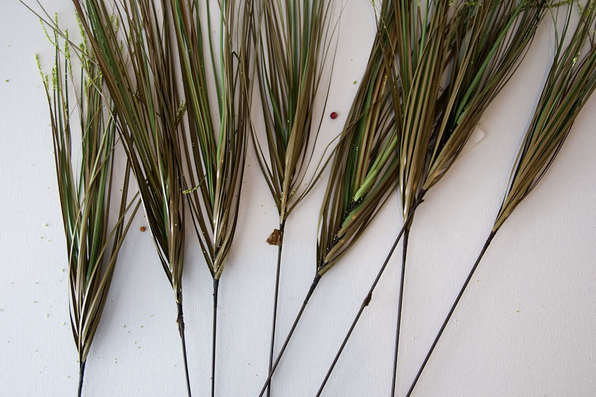 Next you are going to start making small bunches with all of your materials. Here I’ve taken one grass stem, one pepper berry sprig and one feather and wired them all together along the bottom. Use you wire cutters to clip off any extra wire at the bottom of your bunch. (below) 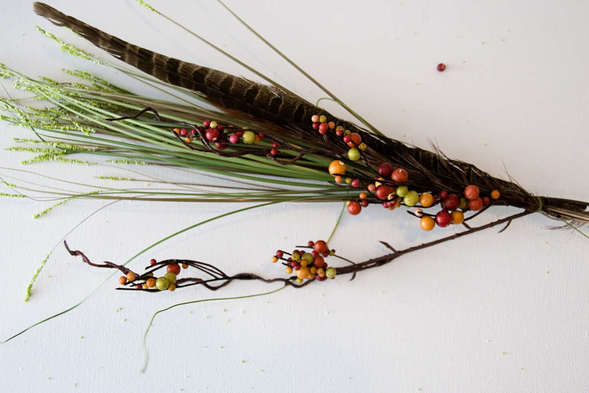 Now use your floral wire an attach the bottom of the stem to your wreath form. Repeat. Keep attaching bunches, overlapping each piece slightly, until your wreath is filled up. The number you need will depend on how full the materials are you chose to work with. (below) 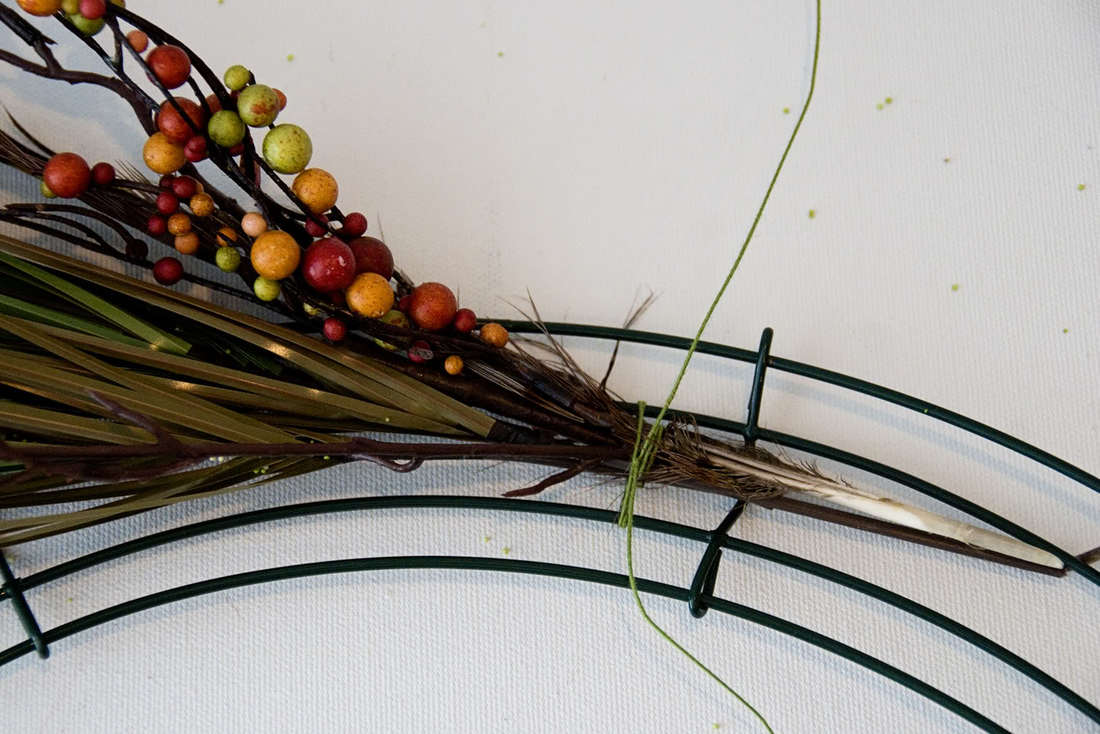 Once you’ve got all of your bunches wired on, flip your wreath over. Generously use your hot glue gun and glue over the top of where the floral wire is attached to the form. This will keep your wreath from moving around. Flip over your wreath and look at it- If you like, add some more feathers or grass stems until it’s the fullness that you are happy with. 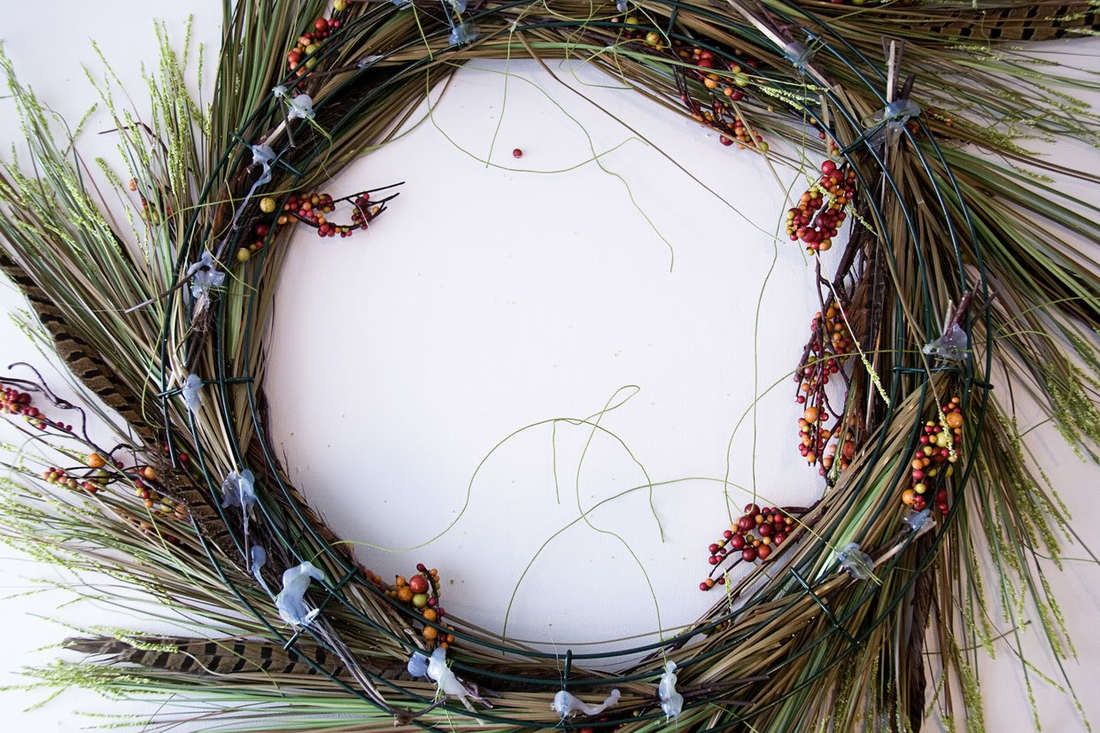 Next you are going to take apart your focal flower. Just tug on it, it will come apart!! Don’t worry we’ll put it back together again. If you don’t want to use a sparkly brooch for the center of your flower, you can skip this part.
Now just reassemble your flower in a way that you like! I used some leaves from the stem and glued them to the back. Just use hot glue to reassemble the flower. I just pinned the brooch onto the reassembled flower. 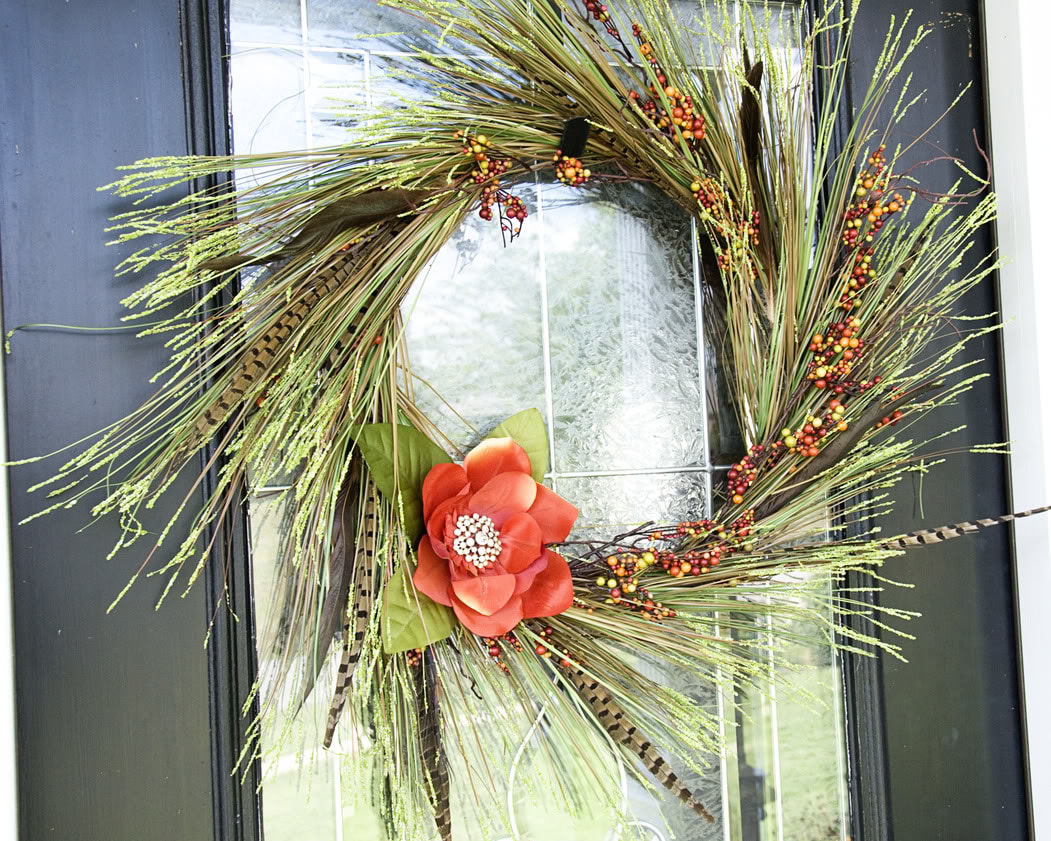 The only thing left to do is to hot glue the flower to your wreath and hang it on your door! Oh- if you don’t want to keep the brooch on your wreath don’t stress, you can just take it off when you are done with it and use it for something else.
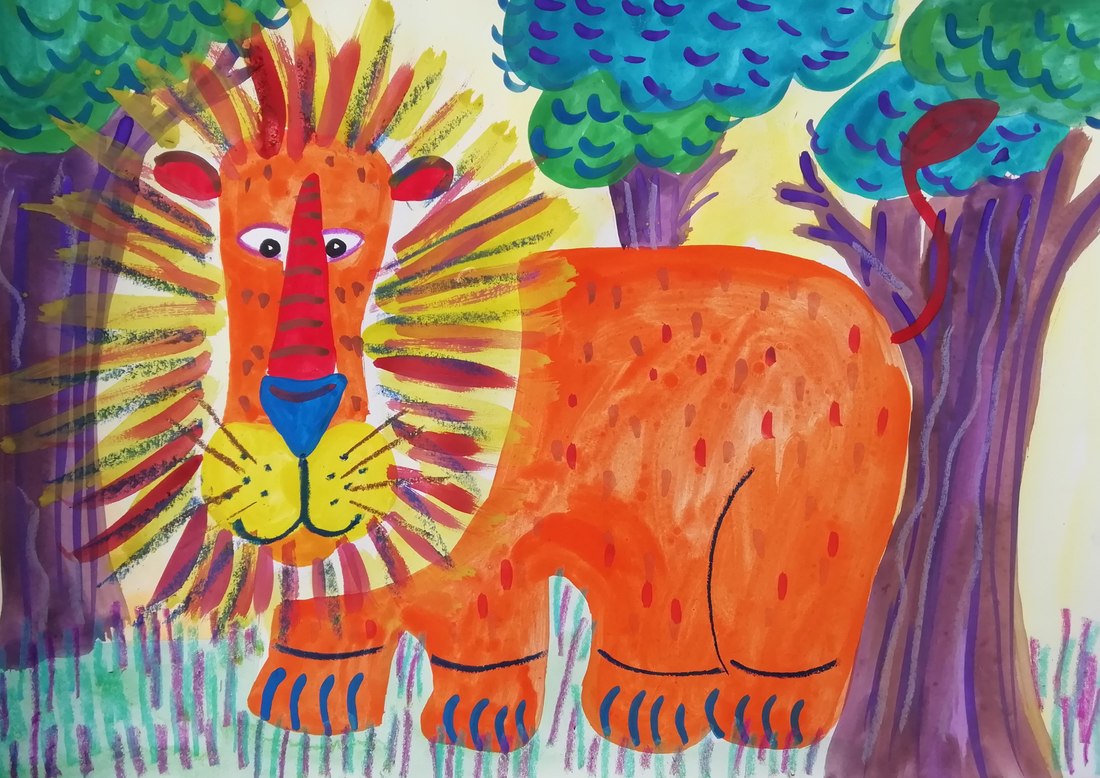
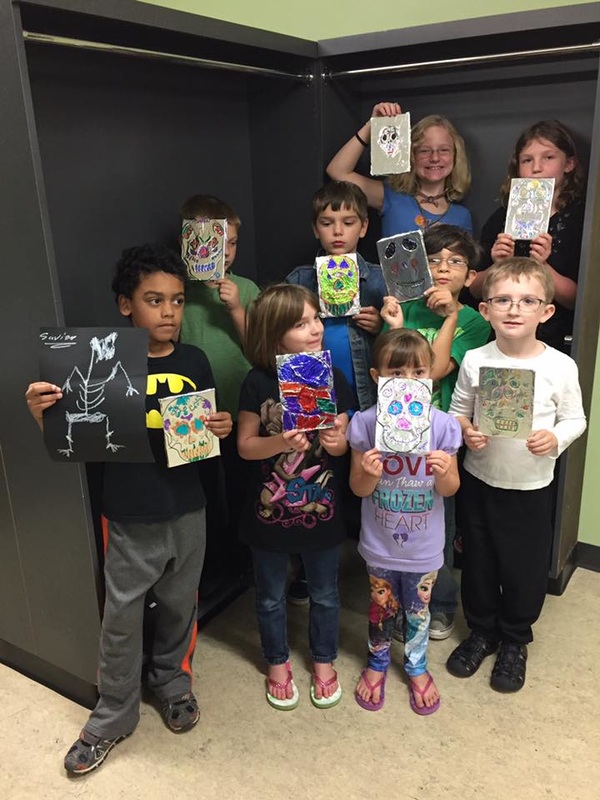
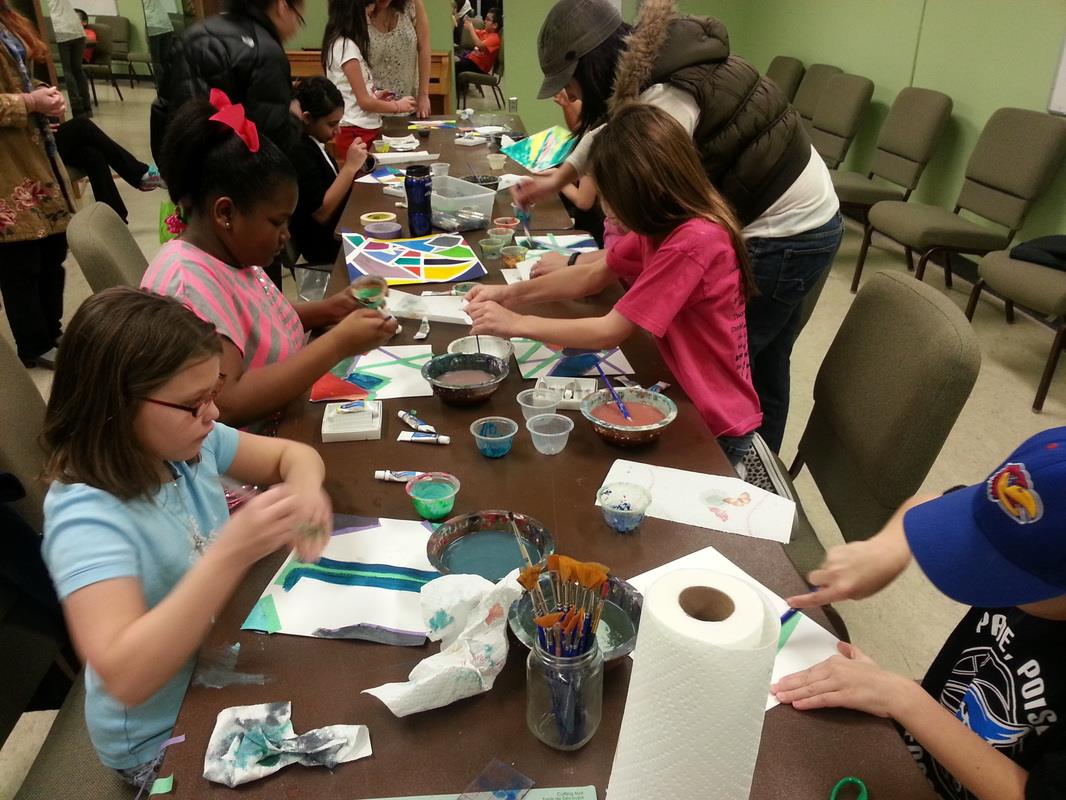
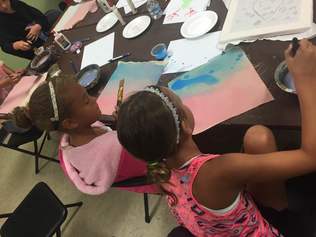 Saturday Kid's Art Class 10am-11am Class size is limited to 12 students and online registration is required. Be sure to check our Facebook page fir changes or cancellations @JunctionCityArtsCouncil MORE INFO . . . WHEN: Saturdays from 10:00 a.m. to 11:00 a.m. WHERE: CL Hoover Opera House, JC Arts Council. 135 W. 7th St., Junction City, Ks. This class is free for children K-5th grades, however . . . YOUR MONETARY DONATIONS ARE WELCOMED TO HELP US CONTINUE THIS PROGRAM, Thanks! Be ready to have a great time! Parents are encouraged to stay and participate with their child. HOW TO REGISTER YOUR CHILD REGISTRATION IS SIMPLE. Please follow the steps below. Click the blue link below and provide the following information:
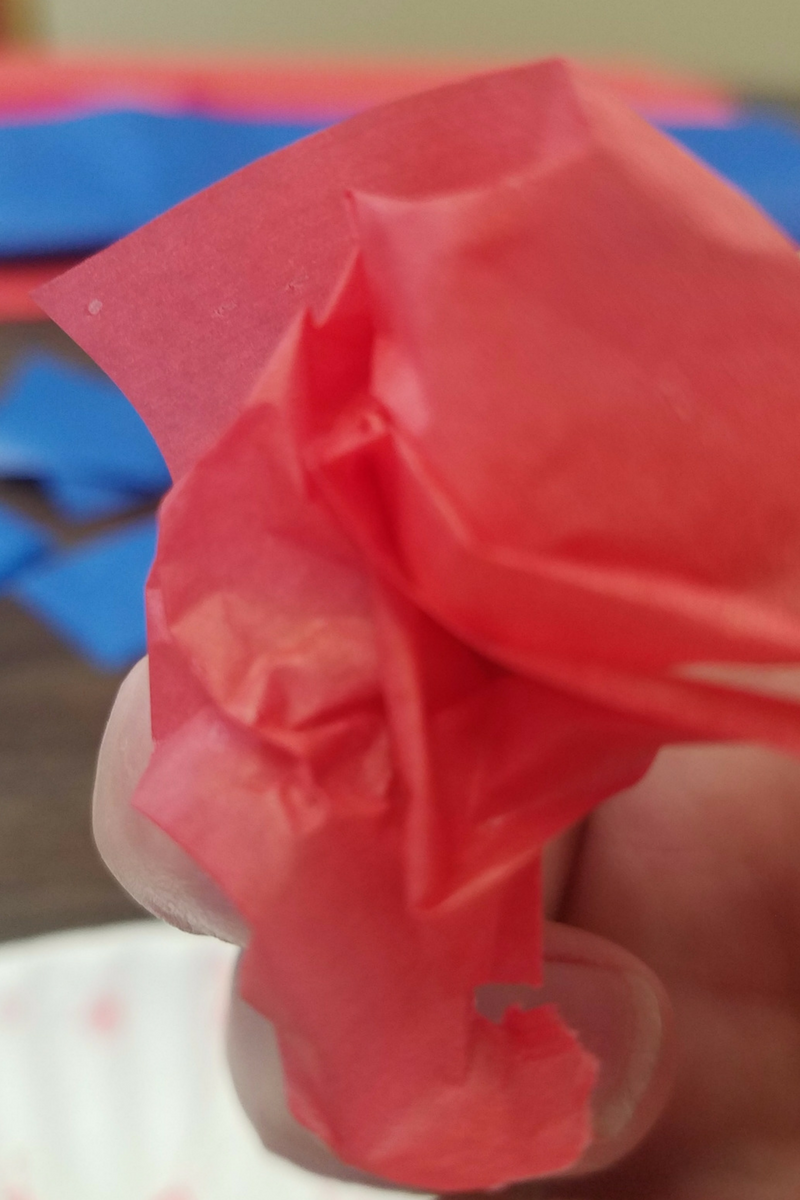
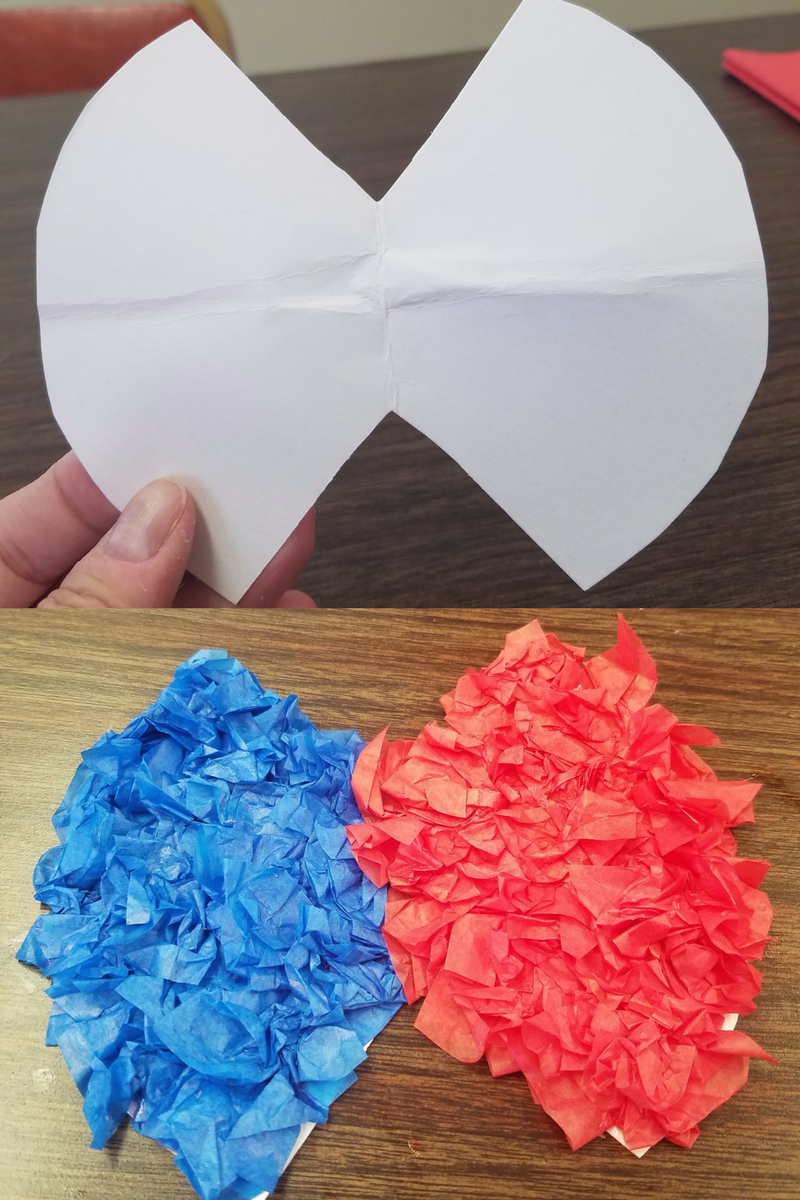
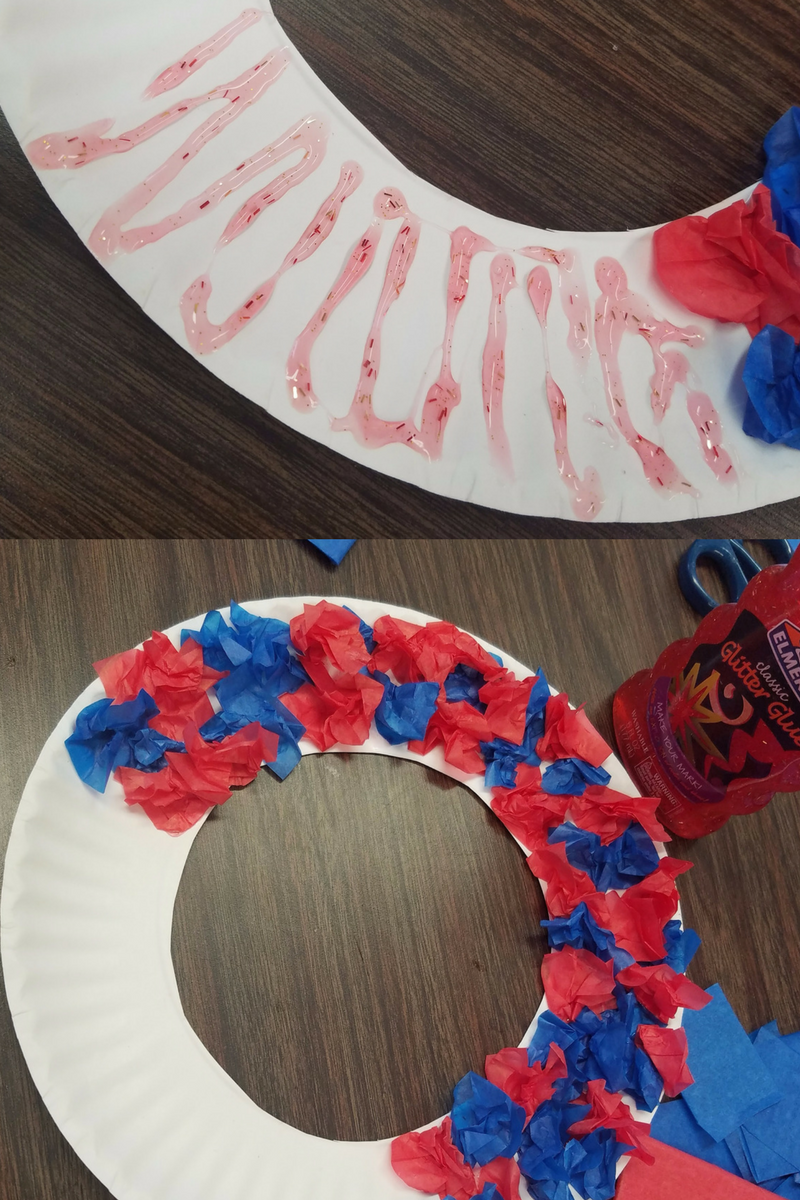
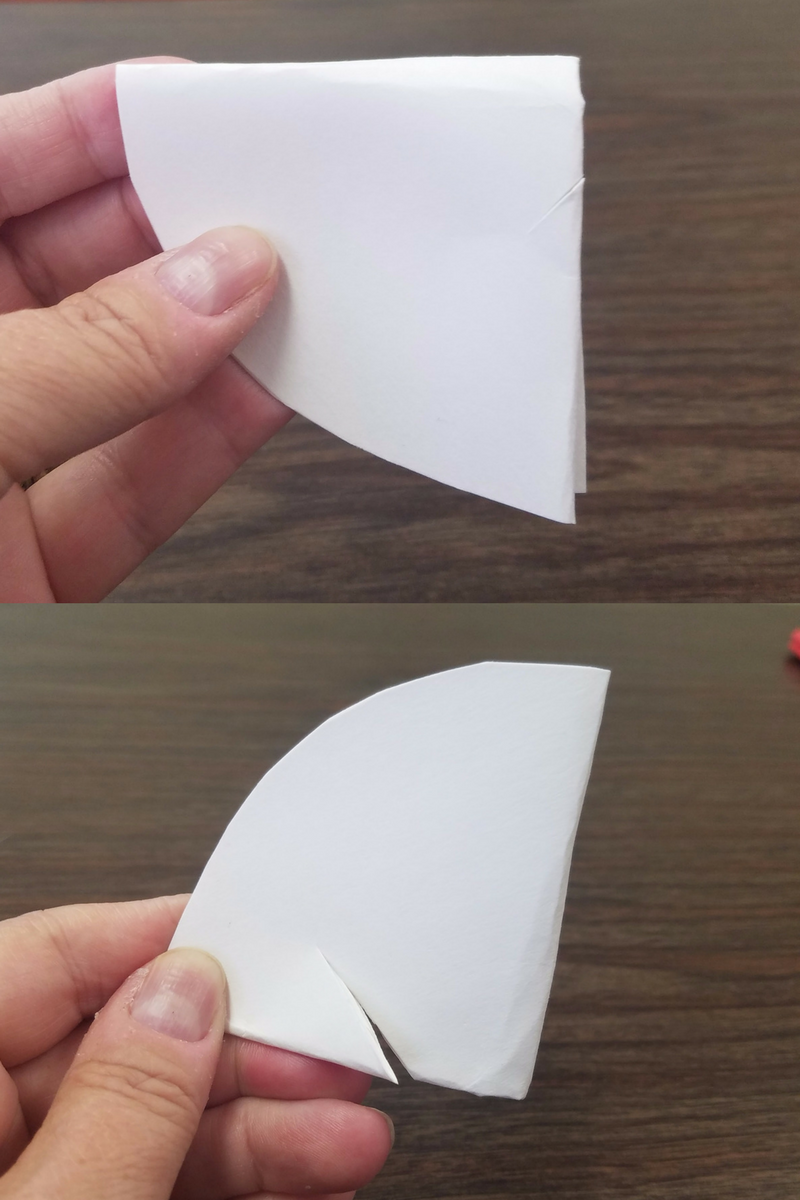
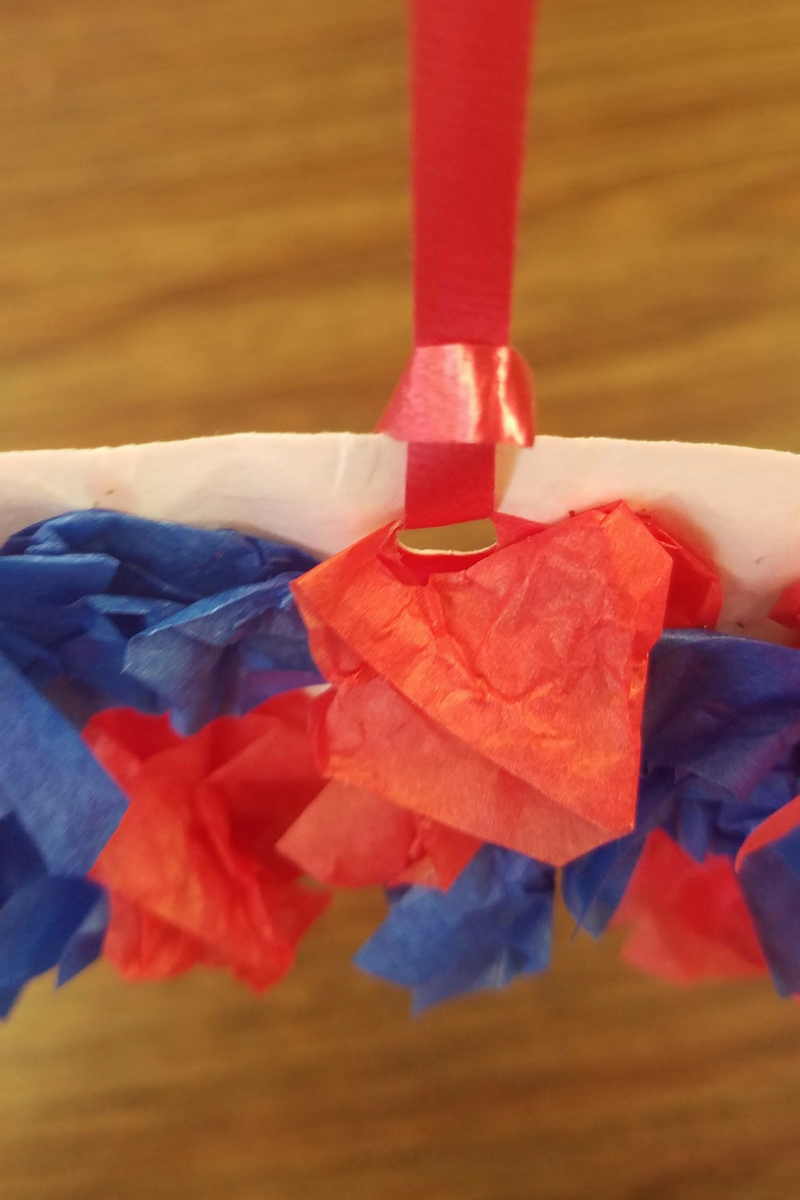
REGISTRATION WILL END WHEN CLASS SIZE IS REACHED. THANK YOU FOR YOUR PATIENCE AND CONSIDERATION. Summer is here in full swing and the kids are probably already looking for fun things to do. When you're not at the pool or playing outside in the sprinkler, why not come inside for awhile and cool off with an easy craft project? Our 4th of July tissue paper wreath is easy to make and will look great as a patriotic decoration. Kids preschool age and up can do this craft. 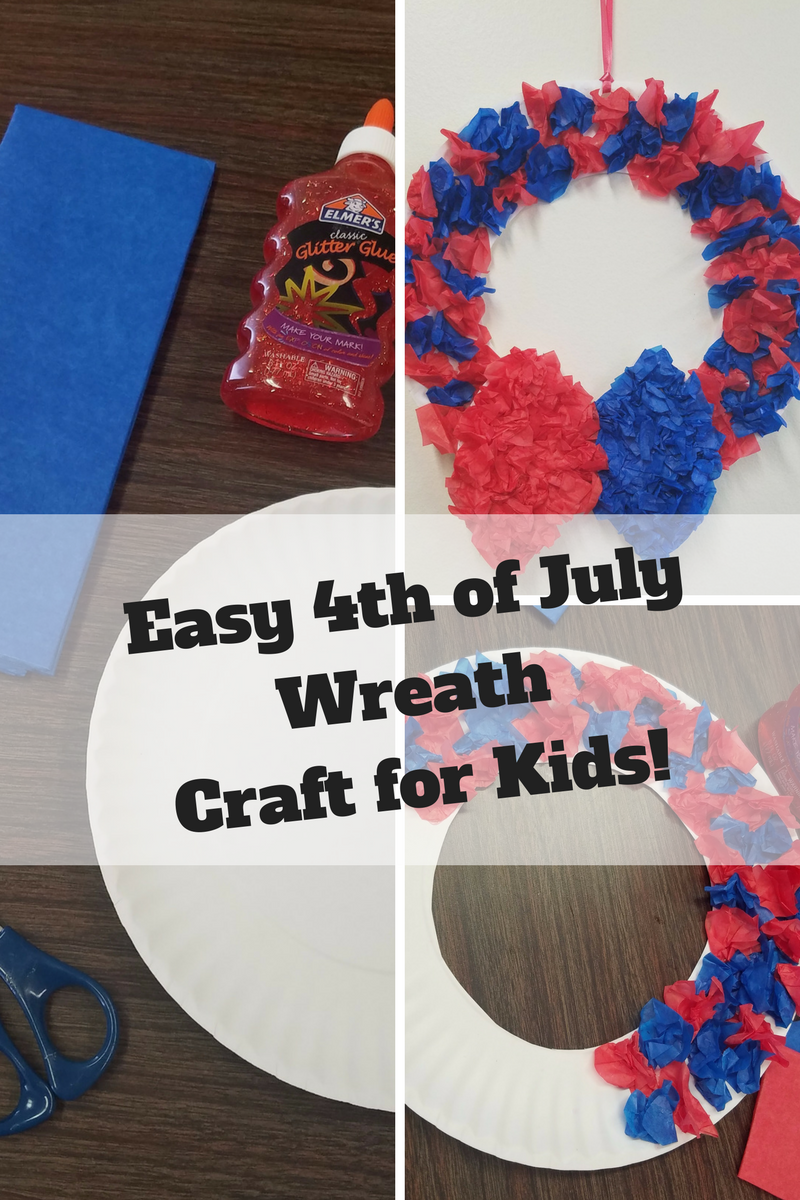 Supplies You'll Need and How to Make the Wreath!
HAPPY 4TH OF JULY! 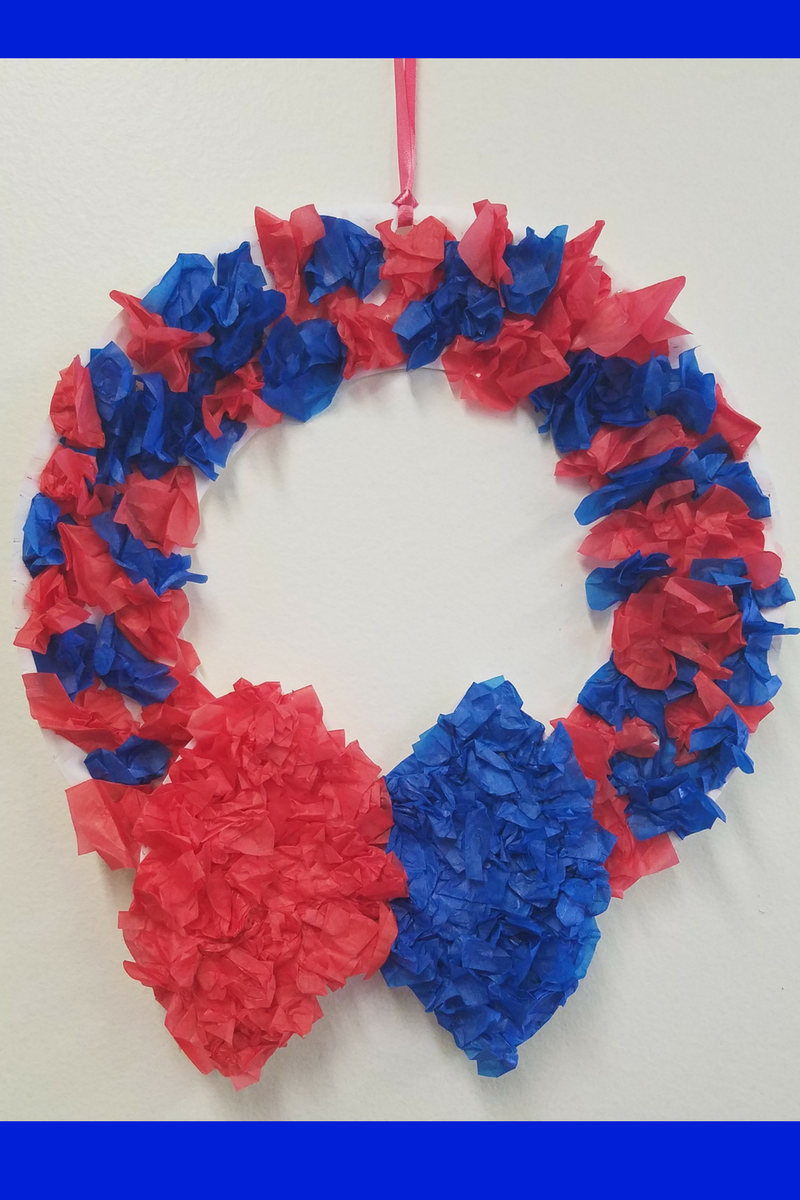 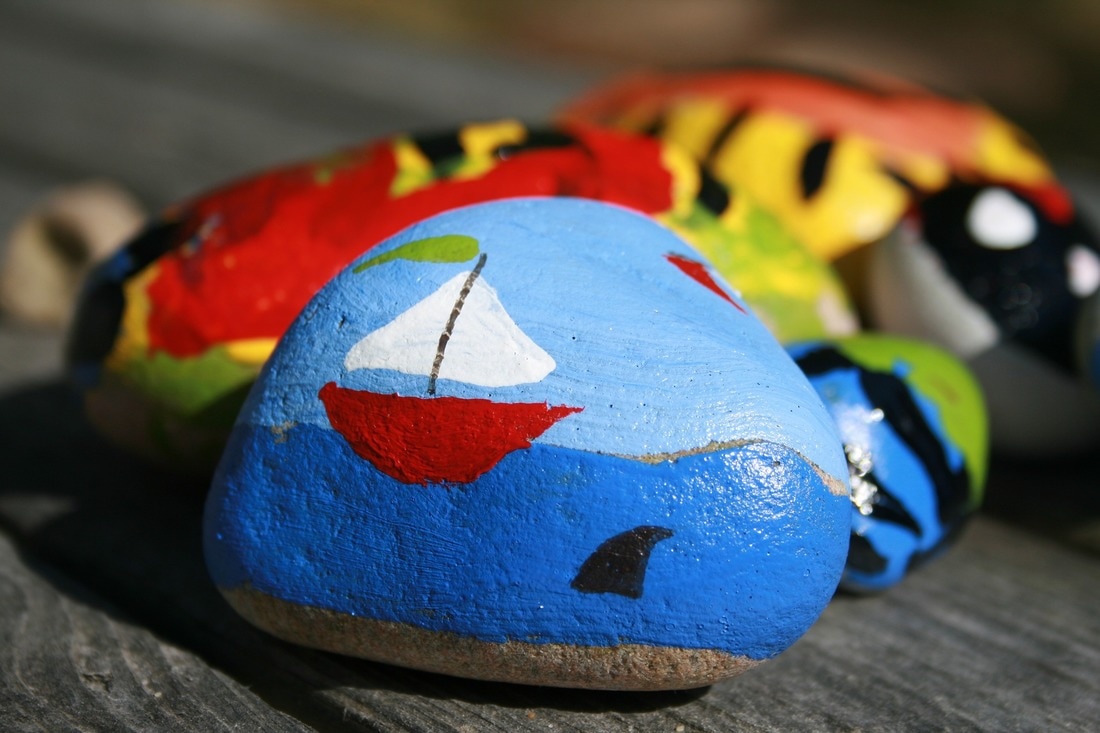 Rocks make great painting surfaces. Most of us pay little attention to rocks. But for crafters, they present all kinds of possibilities. An attractive rock makes a splendid adornment for the right project. Rocks are also great for kids' crafts, because just painting and decorating them can be lots of fun.
With a little imagination, a rock can be turned into any number of things. You can paint it up and add googly eyes to create a pet rock. You can decorate a large rock and use it as a paperweight. You can even make little people and animals out of them. Who knew rocks could be so versatile? Choosing a Rock for Your Project For most projects, smooth rocks are the best. These can be difficult to find, but a good place to look is in a creek or river if there is one nearby. The flowing water smoothes stones naturally over time. You can find both large and small rocks in bodies of water. Rough, jagged rocks can also work for some projects. They are more difficult to paint evenly than smooth rocks, but this adds to their charm. Small jagged rocks may also be glued onto smooth ones as "body parts" or accents for some projects. If you plan to paint the entire rock, color won't be an issue. But some rocks come in beautiful colors that do not require painting. These are much rarer than your usual gray or brown rocks, so finding one is a real treat. Working with Rocks The first thing to do when crafting with rocks is to clean them thoroughly. Take care to remove all dirt so that paint and glue will stay put. For jagged or unusually shaped rocks, you might need to use a small, stiff brush to make sure it's nice and clean. When painting rocks, acrylics work the best. It sticks to rocks very well and has a glossy sheen. Tempera also holds well, but it has a chalkier finish. It may be a better choice for particularly messy kids, however, because it washes off much easier than acrylic. If you're gluing rocks together or gluing on embellishments, cement glue provides the best hold. But it also has very strong fumes, so it should only be used in a well-ventilated area by an adult. There are other types of glue that are safe for kids that will work, but the finished product will not be as durable. Rock crafts are very inexpensive and lots of fun for kids. They're also educational, because they challenge the mind to take abstract objects and turn them into something recognizable. So the next time your child wants to make something, sit down with a pile of rocks together and let your imaginations run free. 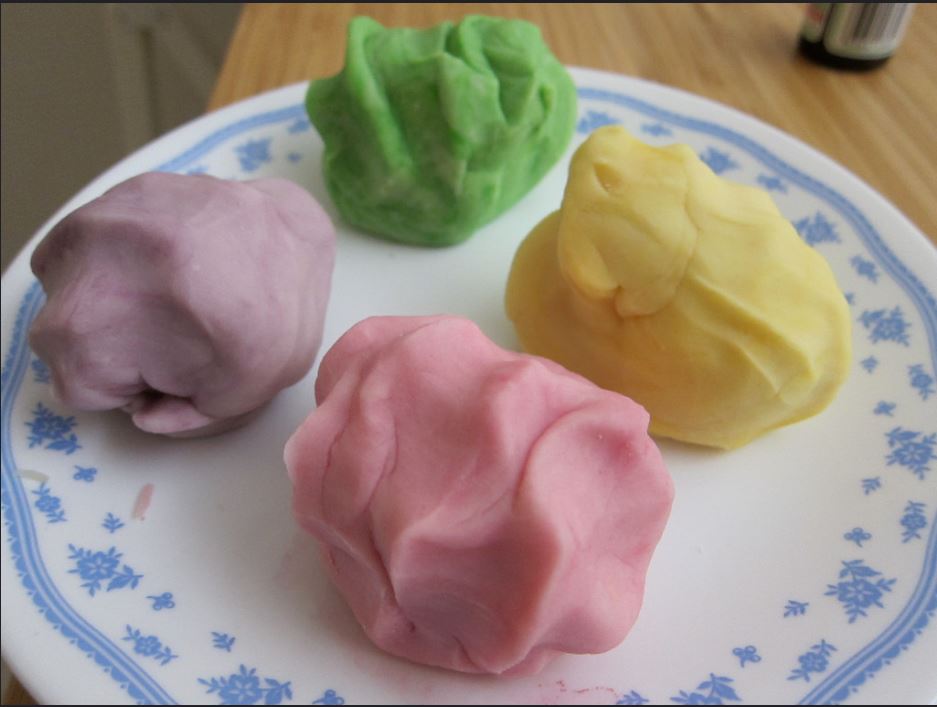 Homemade playdough recipes. https://www.flickr.com/photos/sharontroy/ Kids love playdough. Parents love it because it encourages creativity and provides a fun, quiet indoor activity. Playdough can be used over and over again if kept in its container, or kids can let their creations dry and keep them.
You can find playdough in almost any store that sells toys. But it’s also very cheap and easy to make. You probably have everything you need to make at least one type of playdough in your kitchen cupboard. Some recipes are even edible. Here are three fun and simple ways to make playdough. 1. Authentic Playdough Ingredients * 1 cup flour * 1 cup water * 1 tbsp. oil * 1 tbsp. powdered alum * ½ cup salt * 2 tbsp. vanilla * Food coloring Instructions 1. Mix dry ingredients together thoroughly in saucepan. 2. Add oil and water. 3. Cook at medium heat, stirring constantly. It’s done when it has a consistency similar to that of mashed potatoes. 4. Remove the dough from heat and stir in vanilla and food coloring. Work the color in by kneading the dough. 5. When completely cooled, store in an airtight container. This dough will keep for at least two months. This home-made playdough has a look and feel very similar to the store-bought kind. It is not intended to be eaten, but is not toxic to humans. 2. Peanut Butter Playdough Ingredients * 3 ½ cups creamy peanut butter * 4 cups powdered sugar * 4 cups powdered milk * 3 ½ cups corn syrup Instructions 1. Combine ingredients in a bowl. Mix thoroughly. 2. Place the dough onto wax paper and model with it. When the kids are through playing, they can eat it. Tip: For more edible fun, use sprinkles and candies to decorate creations made with peanut butter playdough. 3. Kool Aid Playdough Ingredients * 3 cups flour * ½ cup salt * 2 packages of unsweetened Kool Aid * 2 cups water Instructions 1. Boil water. 2. While the water is heating, combine dry ingredients in a bowl. Add boiling water and stir. 3. Knead the dough on a floured board. Add small amounts of flour until you reach the desired consistency. 4. When completely cool, store in a tightly covered container. This playdough will last a few months if stored properly, and it has a wonderful scent. Making playdough with the kids is a fun rainy day project. It’s a great way to get them involved in cooking, and the finished product can provide hours more of fun. And recipes such as the one for peanut butter playdough serve yet another purpose: they make a delicious snack! So when your child runs out of playdough, don’t run to the store. Just head to the kitchen! Creative Commons photo license: https://www.flickr.com/photos/sharontroy/
|
|||||||||||||||||||||


 RSS Feed
